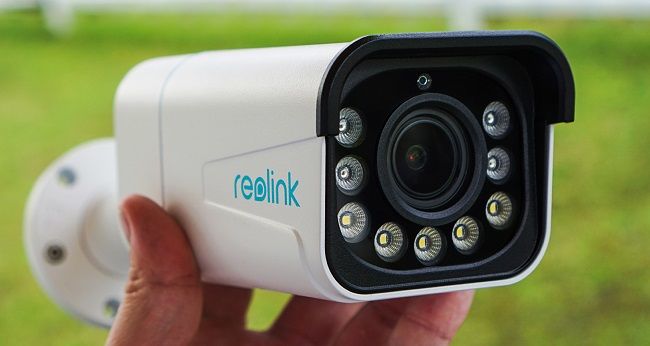
Reolink RLC-520 5MP Outdoor Turret POE IP Security Camera Review
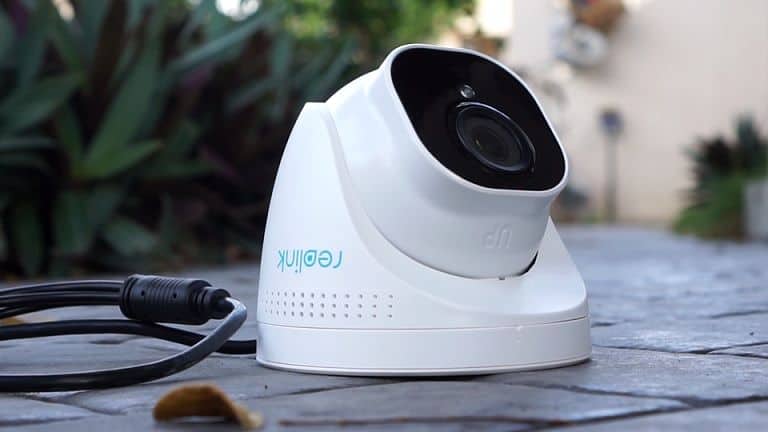
This is a newly released camera from Reolink and I’m guessing this is an upgraded version of the old RLC-420, in both design and performance. This camera would be great for any home or business looking for an affordable, easy-to-install, lightweight turret camera with good image quality.
Check latest price on Aliexpress!
Motion detection worked just fine, however I did have a few false alarms in the beginning, before I got the sensitivity correctly adjusted.
You will get a push notification sent to your smart device when motion is detected and recorded on the SD card and it will continue to record as long as it detects motion. The camera can of course also record 24/7 if needed.
So the camera uses a 5mp sensor with a video resolution of 2560×1920 at 30fps. The camera I got uses a 4mm lens and I think that is the only one available, and this is not a wide-angle lens since the field of view is only 80 degrees.
It does have a built-in microphone but there is no speaker, so it doesn’t support 2-way audio.
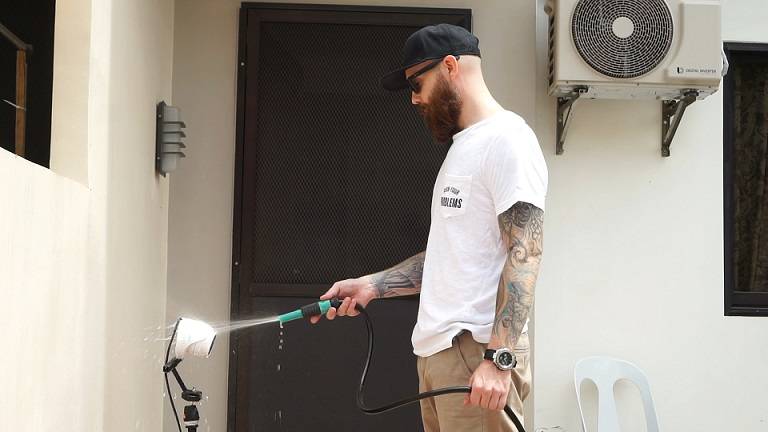
The camera is made for outdoor use with an IP66 rating which means it is dust and waterproof, and it has a working temperature between -10 to 55 degrees Celsius.
Since it supports ONVIF you should be able to connect the camera to most 3rd party NVRs or software as long as they support ONVIF. I connected to the camera using the ONVIF device manager without a problem.
For night vision it uses 18 Infrared LED’s and according to Reolink it should have a range of up to 30 meters. And I think for a 50-dollar camera night vision is pretty good.
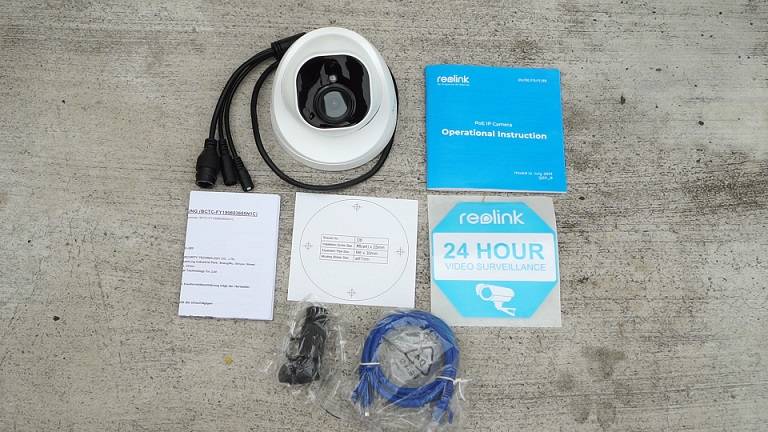
In the box, we will get, the Camera, 1meter network cable, Quick Start guide, Sticker, Mounting plate, Network connector cover, and a bag with screws.
My first impression is the camera feels kinda cheaply made, everything is made of plastic. And the camera is extremely lightweight compared to other turret cameras I’ve tested.
It’s easy to adjust the camera and you can of course both pan and tilt the camera. To power the camera, you can use an Ethernet cable or a power adapter, which is not included. To use POE you will need a switch unless you are using an NVR with POE ports.
And to access the SD card slot we need to open up this cover here.
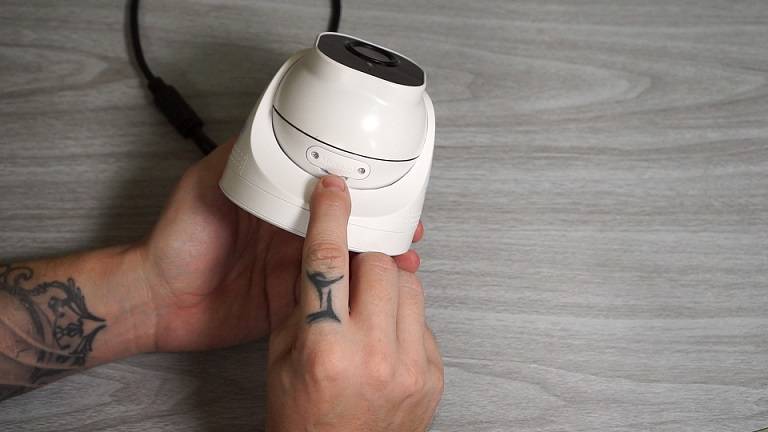
To access the camera we can use a web interface, video management software, or using the Reolink APP. And to access it through your web browser you first need to find out what IP address your router has assigned for it.
And the easiest way is probably to log in to your router and check the device list, that’s usually what I do. When you get the IP address of the camera, type the IP address in your web browser’s address bar and click enter. And the default username is admin and the password is blank.
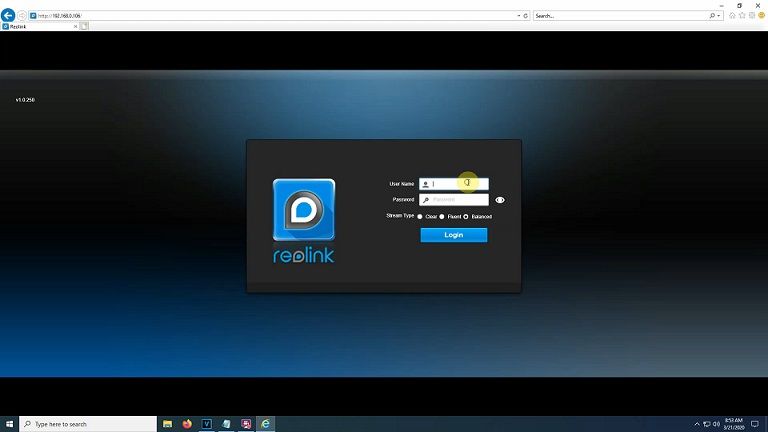
Here we have access to all the settings. Up here we got a quick menu with the most used settings. Like camera name, change resolution, adjust brightness and contrast and all that stuff. In advance, we can adjust night vision settings.
In the top right corner, we got the main settings menu.
In the display, we can adjust the camera name, date, time, and watermark. In the recording, we can set the stream resolutions, frame rate, and bitrate.
If we click on advanced we can set a recording schedule, how long after we want the camera to record for when motion detection is triggered, and if we want to overwrite when storage is full.
In the network, we can change to a static IP address, and set up email and FTP.
In alarm, we can adjust the sensitivity as well as set up where we want motion detection active.
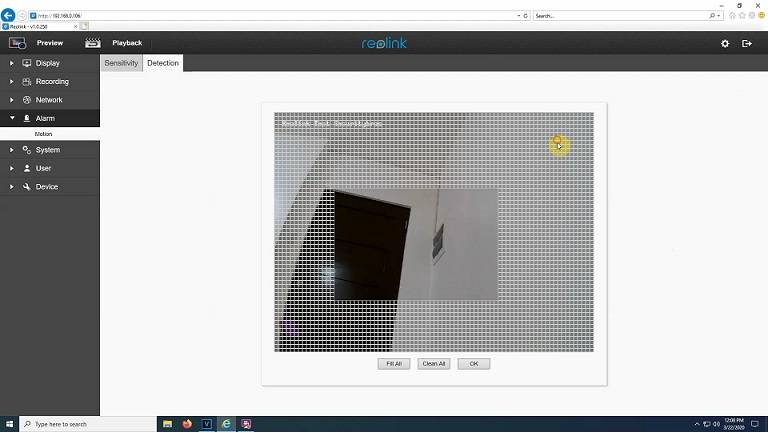
And I think that’s all the settings. In the system, user, and devices, there is mostly information about my specific camera so that’s really nothing interesting there.
To connect the camera with the App is really easy and only takes a couple of minutes. So first you need to download the Reolink App from either the Google Play Store or the app store depending on what device you are using.
Power on the camera and open up the App, and the camera should show up here automatically, so all you need to do is tap on the screen add a new password, and name the camera.
You can also scan the QR code on the camera by clicking on the +icon if for some reason the camera does not show up here.
Here we can watch playbacks recorded on the SD card. The camera will record as long as it detects motion.
Here we can turn on/off live view, turn on/off audio, take snapshots, record video, change image quality, and watch full screen.
In the top right corner, we will find the settings menu. And here we will find most of the settings that I showed you before in the web interface.
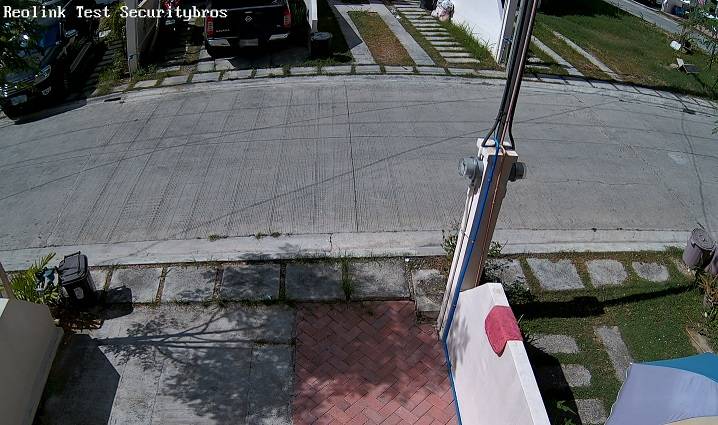
Here is a snapshot of the daytime. For recorded footage please check my YouTube video!
Disclaimer
Certain content that appears on this site comes from Amazon. As an Amazon Associate we earn from qualifying purchases. Read full Disclaimer Here!

