Finding and Accessing an IP Camera with a Static IP Address
This article will guide you through finding and accessing an IP camera with a static IP address.
Static vs. DHCP IP Cameras
Most consumer IP cameras come with DHCP (Dynamic Host Configuration Protocol) enabled by default. This means they automatically obtain an IP address from your router when connected to the network.
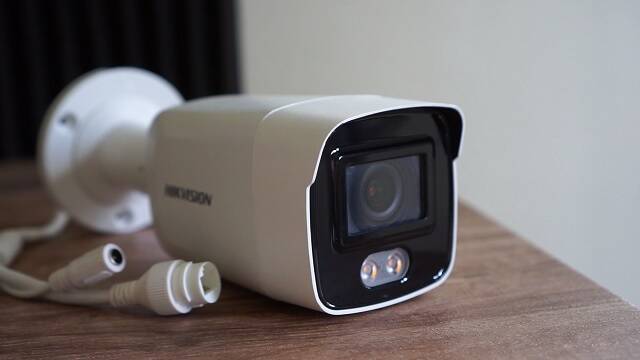
However, some cameras, particularly from brands like Hikvision and Dahua, come with a static IP address pre-configured. This can cause issues if your router’s IP range differs from the camera’s static IP.

Finding the Camera’s IP Address
Here are three ways to find your camera’s static IP address:
Changing Your Computer’s IP Address
Since the camera has a static IP, you’ll need to temporarily change your computer’s IP address to be within the same network range to access the camera’s web interface. I will show you the steps below how I do it:
1. Go to your network settings.

2. Find “Change adapter options”.

3. Right-click on your network connection and choose “Properties”.

4. Double-click on “Internet Protocol Version 4 (TCP/IPv4)”.

5. In the properties window, select “Use the following IP address”.

6. Enter an IP address within the same range as the camera’s IP address (change the last octet). For example, if the camera’s IP is 192.168.1.64, you could use 192.168.1.65 for your computer.

7. Click “OK” on all windows to save the changes.
Accessing the Camera and Changing Settings
Remember to Change Your Computer’s IP Back
Once you’ve finished configuring the camera settings, return your computer’s network settings to automatically obtain an IP address. This ensures your computer continues to function properly on your network.
Additional Notes
This is a general guide, and specific steps might vary depending on your camera model and operating system.
If you’re uncomfortable with these steps, consult your camera’s manual or contact the manufacturer for support.
This article focuses on basic access. Advanced camera settings and functionalities might require further exploration of the camera’s web interface.


